
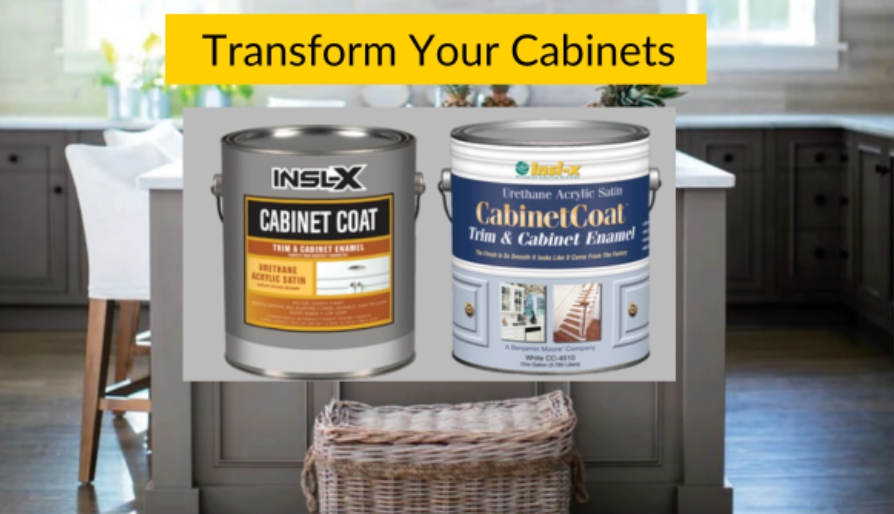
Are your kitchen cabinets looking a bit worse for wear? Maybe they’re chipped, faded, or just not fitting with your style anymore. Before you consider ripping them out and starting from scratch, let me introduce you to a game-changer in the world of cabinet refinishing: INSL-X Cabinet Coat, an acrylic cabinet paint. With this revolutionary product, you can breathe new life into your cabinets with minimal hassle and maximum impact. So grab your paintbrushes and let’s dive into this step-by-step guide to refinishing cabinets with INSL-X Cabinet Coat.
Step 1: Prep Like a Pro
Before you crack open that can of Cabinet Coat, it’s crucial to prep your cabinets properly. Start by removing all hardware, including knobs, handles, and hinges. This will give you a clean canvas to work with and prevent any accidental paint splatters on your hardware.
Next, give your cabinets a good cleaning. Use a mild detergent and warm water to remove any grease, grime, or dirt buildup. Once they’re squeaky clean, lightly sand the surfaces to roughen them up a bit. This will help the paint adhere better and ensure a smoother finish.
Step 2: Prime for Success
Now it’s time to prime your cabinets for painting. Choose a high-quality primer that’s compatible with your cabinet material and the Cabinet Coat paint. Apply the primer evenly using a brush or roller, making sure to cover all surfaces thoroughly. Let the primer dry completely according to the manufacturer’s instructions before moving on to the next step.
Step 3: Paint with Precision
Ah, the moment you’ve been waiting for – painting time! Shake up your can of INSL-X Cabinet Coat paint to ensure it’s well mixed, then pour a small amount into a paint tray. Using a high-quality brush or roller, apply the paint in smooth, even strokes, working from top to bottom. Take your time and be sure to cover every inch of the cabinet surface for a flawless finish.
Step 4: Let It Cure
Once you’ve applied the first coat of Cabinet Coat paint, resist the urge to touch it up right away. Instead, allow it to dry completely before applying a second coat. This will ensure a more durable finish and prevent any streaks or smudges. Depending on the temperature and humidity levels in your area, this may take anywhere from a few hours to overnight.
Step 5: Reassemble and Rejoice
Once your cabinets are dry to the touch and looking fabulous, it’s time to put the finishing touches on your kitchen makeover. Reattach all hardware, including knobs, handles, and hinges, and step back to admire your handiwork. You’ll be amazed at the transformation – your cabinets will look like new again, thanks to the magic of INSL-X Cabinet Coat!

Tips for Success with Cabinet Painting:
1. Choose the Right Tools
Invest in high-quality brushes and rollers for a smoother finish and better results. Quality tools not only make the painting process easier but also ensure a professional-looking outcome.
2. Thoroughly Prep the Surface
Proper preparation is key to a successful cabinet refinishing project. Take the time to clean, sand, and prime your cabinets to ensure optimal paint adhesion and a long-lasting finish.
3. Practice Patience
While it’s tempting to rush through the painting process, patience is essential for achieving professional-quality results. Allow each coat of paint to dry completely before applying the next one, and resist the urge to touch up wet paint.
4. Consider Adding a Topcoat
For extra durability and protection against everyday wear and tear, consider applying a topcoat over the Cabinet Coat paint. A clear polyurethane or acrylic topcoat can help seal and protect your cabinets for years to come.
5. Ensure Proper Ventilation
Painting can release fumes that may be harmful if inhaled in large quantities. Ensure proper ventilation in the painting area by opening windows and using fans to circulate fresh air. If possible, consider wearing a mask to protect yourself from fumes.
6. Take Breaks and Stay Hydrated
Refinishing cabinets can be a physically demanding task, so remember to take regular breaks and stay hydrated throughout the process. Pace yourself and listen to your body to prevent fatigue and ensure a safe and enjoyable painting experience.
Conclusion
Refinishing your cabinets with INSL-X Cabinet Coat is a simple yet effective way to breathe new life into your kitchen. By following these step-by-step instructions and tips for success, you can achieve professional-quality results with minimal hassle. So why wait? Transform your cabinets today and enjoy a kitchen that looks brand new again!
Frequently Asked Questions
1. Can I use INSL-X Cabinet Coat to refinish cabinets in my bathroom or laundry room?
Yes, absolutely! INSL-X Cabinet Coat is formulated to withstand moisture and humidity, making it suitable for use in bathrooms, laundry rooms, and other high-moisture areas. Just be sure to properly prep the surface and apply the paint according to the manufacturer’s instructions for best results.
2. Do I need to sand my cabinets before applying INSL-X Cabinet Coat?
While sanding is not always necessary, it’s highly recommended to achieve the best adhesion and finish. Lightly sanding the cabinets helps to roughen up the surface and remove any existing finish, allowing the paint to adhere better. Be sure to clean the cabinets thoroughly after sanding to remove any dust or debris.
3. How long does it take for INSL-X Cabinet Coat to dry between coats?
The drying time for the INSL-X Cabinet Coat can vary depending on factors such as temperature, humidity, and the thickness of the paint application. In general, allow each coat to dry for at least 4-6 hours before applying the next coat. For best results, follow the drying time recommendations provided on the product label.
4. Can I use a sprayer to apply INSL-X Cabinet Coat, or is a brush/roller better?
While you can use a sprayer to apply INSL-X Cabinet Coat, many DIY enthusiasts prefer using a high-quality brush or roller for better control and coverage, especially on smaller projects like cabinets. However, if you’re comfortable with a sprayer and have experience using it, it can be a faster option for larger projects.
5. Do I need to apply a topcoat over INSL-X Cabinet Coat for added protection?
While INSL-X Cabinet Coat is designed to provide a durable and long-lasting finish on its own, applying a topcoat can offer additional protection against scratches, stains, and moisture. Consider using a clear polyurethane or acrylic topcoat for added durability, especially in high-traffic areas like kitchens. Be sure to test the topcoat in a small, inconspicuous area first to ensure compatibility with the Cabinet Coat paint.